Link to an External Website Page or Document
- Place the cursor on the page where you want the link to appear.
- Then, from the Ribbon bar, select
Insert under Editing Tools. Select the
From Address option in the dropdown menu under the Link button. A popup window titled
Insert Hyperlink will appear where you can enter the label text and the full URL of the page or document you are linking to.
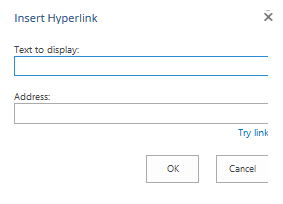
- Type the label text (e.g., “Search Google”) in the
Text to Display field and type the URL of the site in the
Address field.
- If you are entering an Email Address, you will need to put
mailto: in front of the email (mailto:test@example.com)
- Select
OK to continue.
Editing Links
After creating a link, you can update the destination without starting over.
- Place the cursor somewhere in the link; do
not select the entire link. The
Link menu will appear on the Ribbon bar.
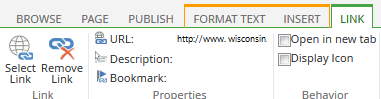
- Update the URL by updating the link in the URL field. Text in the Description field will create the title tag, which is visible when a user hovers their mouse over the link and is used by some accessibility tools.
Edit a link label the same way you would edit normal text on the page.
Tip: If you are replacing an entire link label with a new word, sentence, or phrase, do not select the entire current label and start typing over it as you may lose the link. Leave at least one letter of the old link present until you’ve typed or pasted the new label, then go back and remove the remaining letter. This keeps the link intact.
Adding a Document
- Adding a document to your page is very much like adding an image.
- Place your cursor where you would like to insert the document. From the
Editing Tools menu, select
Insert. The Insert selection menu will appear on the Ribbon bar.
- Select
Upload File. The Add a document window will appear.
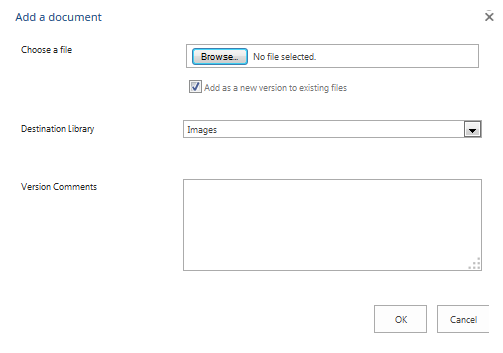
- Use the
Browser button to navigate your computer and select the document you wish to use. There is a file size limit of 100Mb for documents.
- Change the Destination Library dropdown to
Documents.
- When you are finished, select
OK. Another screen will open where you can enter a title for the document or change the filename.
- When you are finished, select
Save.
Upload a Batch of Documents to a SharePoint Library
- Access the library location where you wish to upload the files (library or folder within a library).
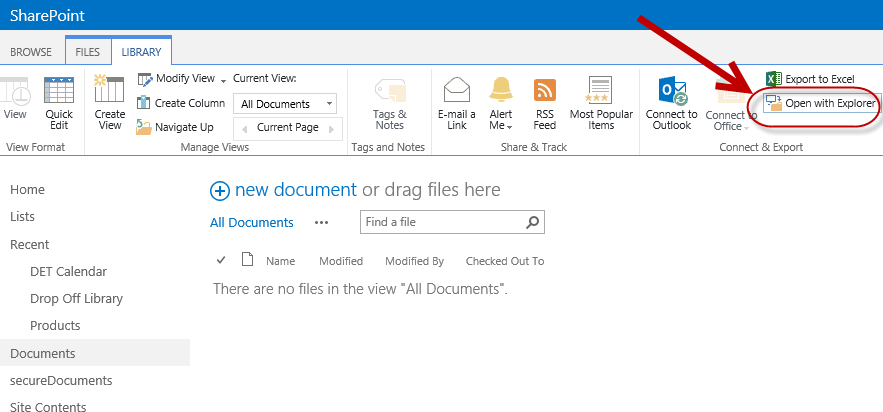
- Click the Library tab in the ribbon and select
“Open with Explorer”.
- If prompted, re-enter your credentials. After a pause, you will be presented with an Explorer window.
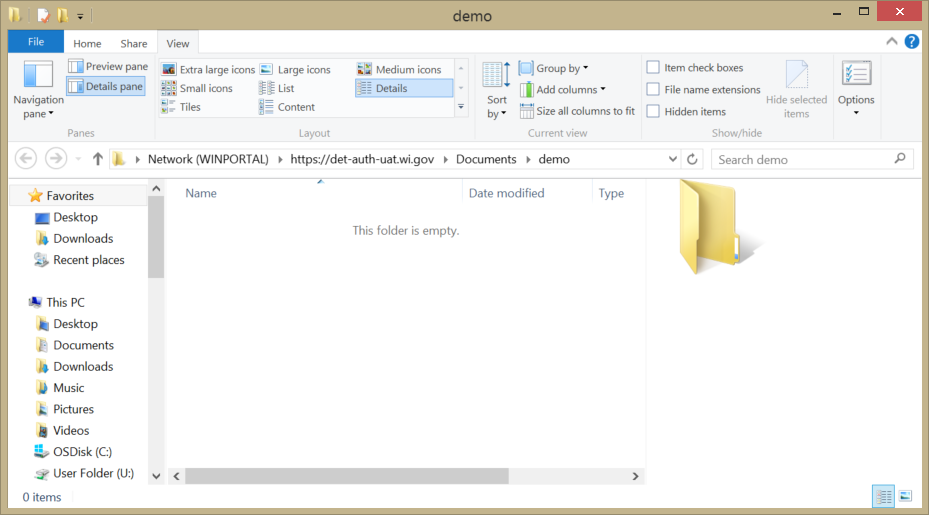
- In a separate window, open an Explorer window for the current location of the files you wish to upload.
- Select the files you wish to upload, and drag them onto the
SharePoint Explorer window; the pointer will read
“Copy to ”.

- Release the left mouse button to “drop” the files on the destination Explorer window.
- After a pause, the SharePoint Explorer window will refresh to indicate the files have been added to SharePoint.
- Repeat if you have more files to move.
- Click the
“X” in the upper right to close the Explorer window.
- Press
F5 to refresh the SharePoint library; the files will now appear in the SharePoint location.
Check with your Agency web content management team for your Agency’s policy about storing documents in SharePoint.